No-Knead Rustic Italian CiabattaVeg
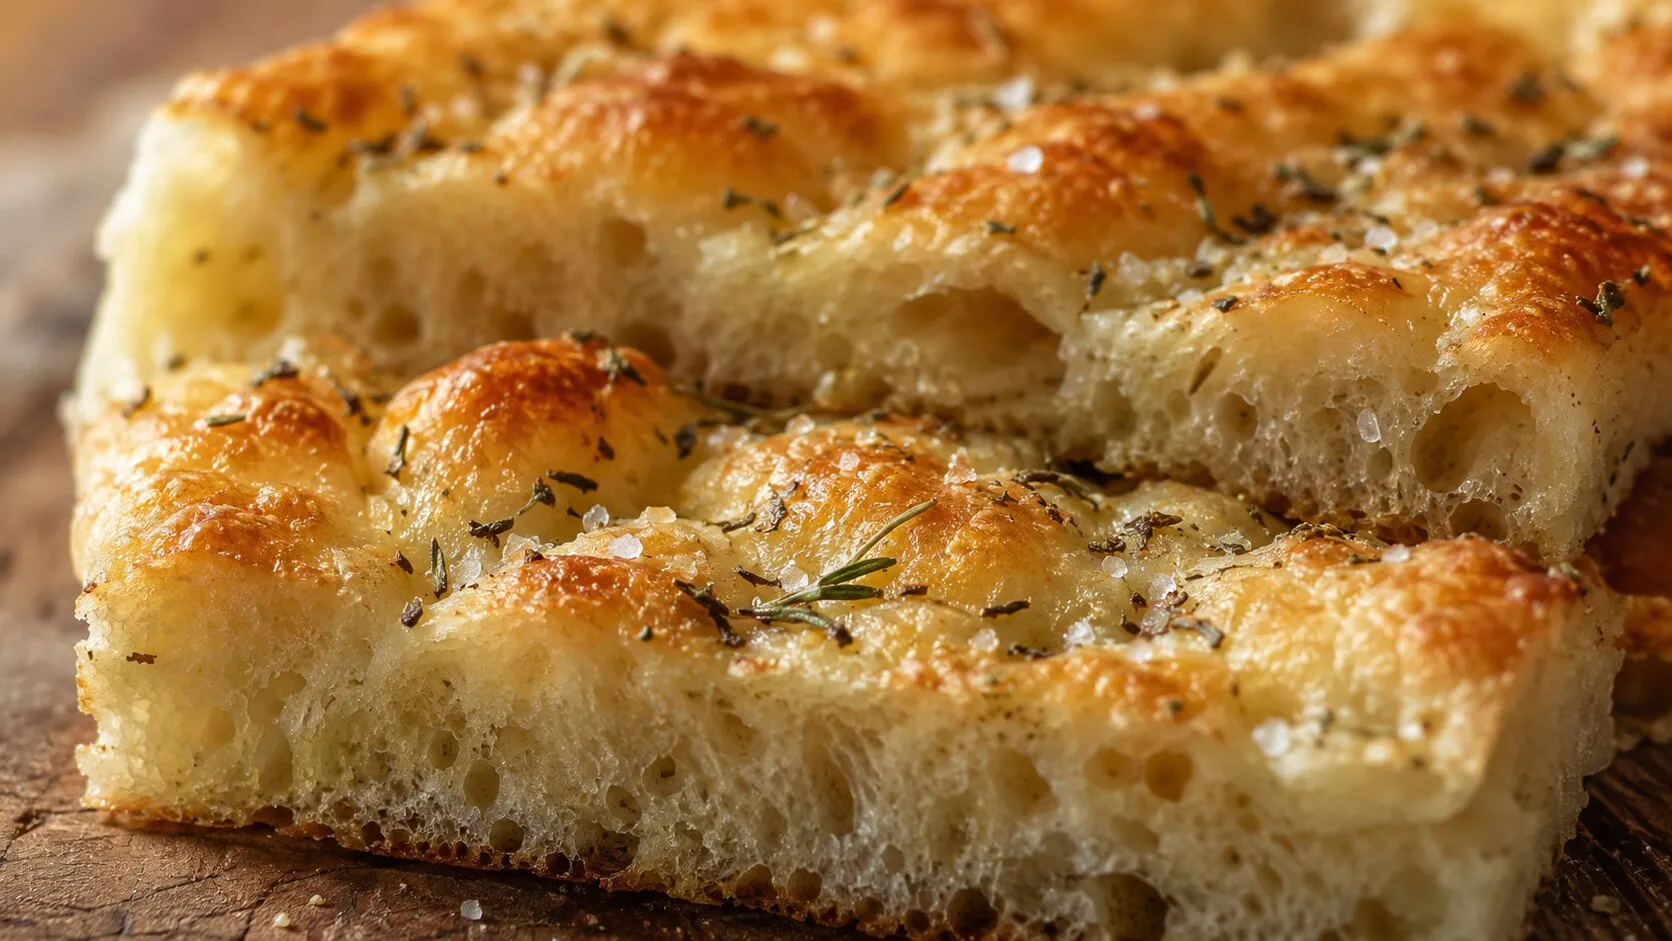
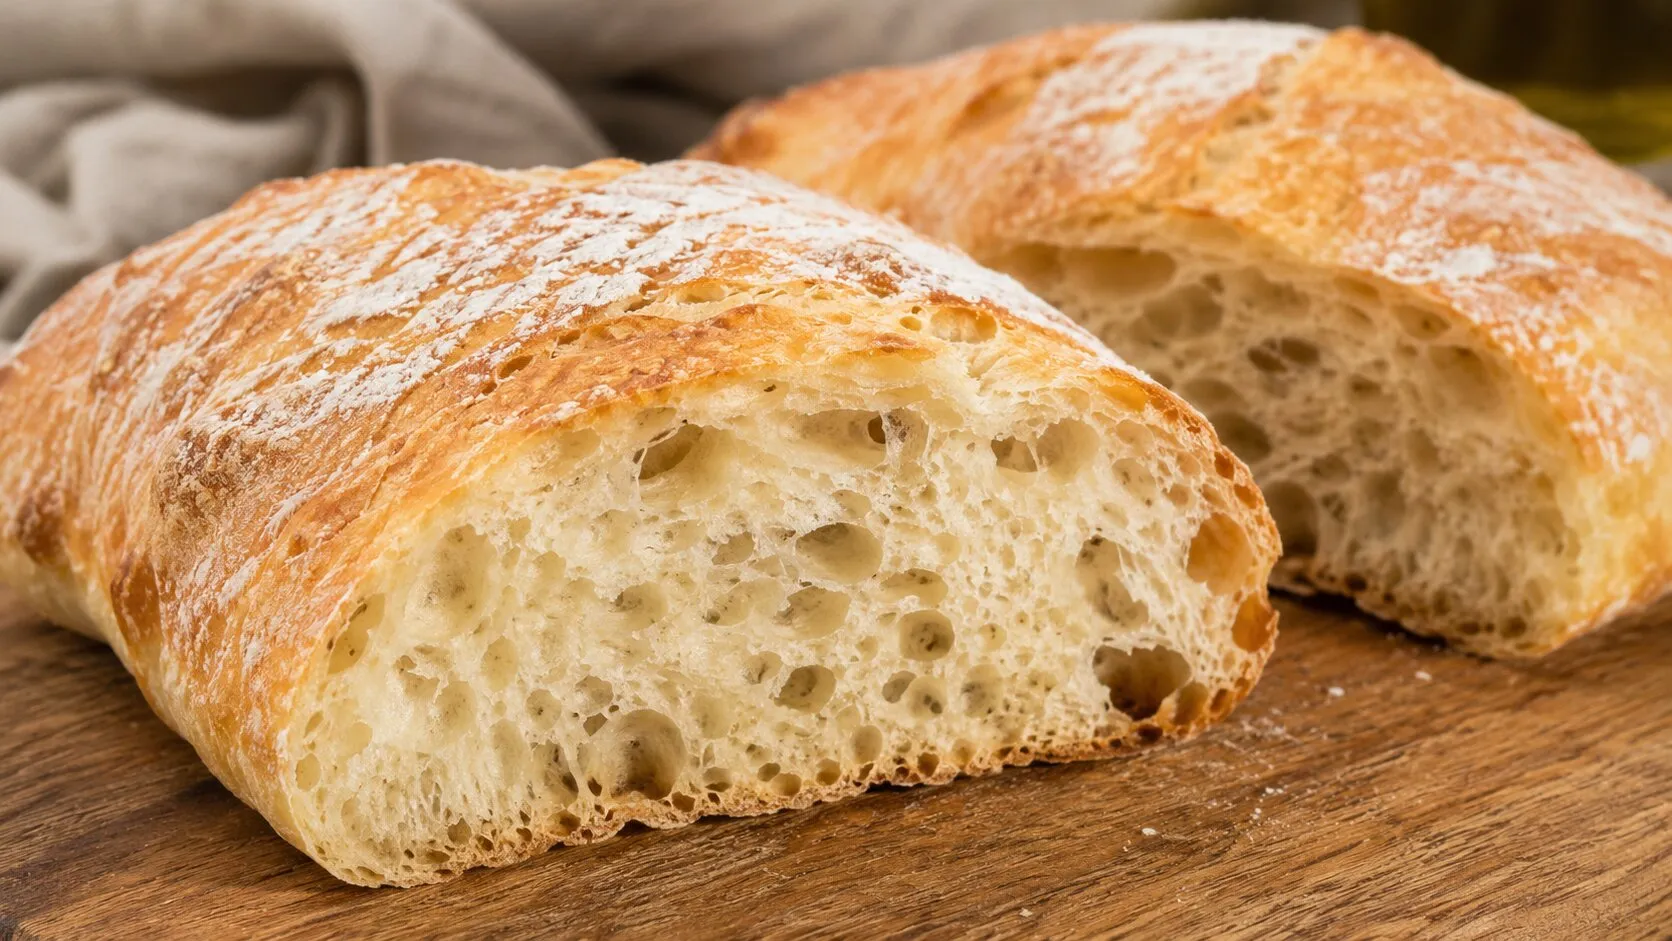
Master the art of authentic homemade ciabatta with this simple, no-knead recipe. This rustic Italian bread features an incredibly airy, open crumb and a signature crisp, golden-brown crust. By utilizing a slow-fermentation process and simple stretching techniques, you can achieve professional bakery results right in your kitchen. Perfect for hearty sandwiches or dipping in olive oil, this loaf brings the taste of Northern Italy to your table with minimal effort and maximum flavor.
Ingredients
For the initial sponge (pre-ferment):
1 cup Bread Flour
1 tsp Instant Yeast
1 cup Warm Water
For the main dough:
2 cups Bread Flour
1 tbsp Olive oil
2 tsp Salt
1 tsp Instant Yeast
1 cup Warm Water
Additional:
1 cup of ice
Instructions
Step 1— Prepare the Sponge (Pre-ferment)
1
In a medium bowl, whisk together bread flour, instant yeast, and warm water until combined.
2
Cover the bowl and let the mixture rest in a warm place for 3 to 3.5 hours, or until it becomes very bubbly.
Step 2— Mix the Main Dough
1
Once the sponge is bubbly, add the remaining bread flour, olive oil, salt, additional instant yeast, and warm water to the bowl.
2
Mix with a spatula until you achieve a shaggy dough where all the flour is absorbed. Cover and let it rest for 30 minutes.
Step 3— Stretch and Fold
1
With wet hands, grab one end of the dough, stretch it out, and fold it over.
2
Rotate the bowl 90 degrees and repeat this process. Perform a total of eight stretches and folds.
3
Cover the dough and let it rest for 30 minutes. Repeat this stretch-and-fold process (eight folds) for a total of three sets, with 30-minute rests in between each set.
Step 4— Cold Fermentation
1
After the final set of folds, transfer the dough into a clean, lightly oiled bowl.
2
Turn the dough to coat it with oil, cover, and place it in the refrigerator to ferment for 8 to 24 hours.
Step 5— Shaping
1
Remove the dough from the fridge and let it sit on the counter for about an hour to warm up.
2
Liberally flour your work surface and dump the dough out. Gently pat and stretch it into a 6x12-inch rectangle.
3
Fold one short end over like a book, then pat and stretch again into a 6x10-inch rectangle. Pinch the seams to seal.
4
Cut the dough lengthwise to create two loaves. You can leave them as rectangular loaves or cut them into smaller pieces for sandwiches.
Step 6— Final Proof and Baking
1
Place the loaves on a flat baking sheet lined with parchment paper. Cover and let them rise for 2 to 2.5 hours until puffy and bubbly.
2
While rising, preheat your oven to 475°F with a pizza stone (or inverted baking sheet) on the center rack and a heat-proof skillet on the bottom rack.
3
Place the loaves into the oven on the stone. Add a cup of ice to the hot skillet on the bottom rack to create steam and close the oven door quickly.
4
Bake for 13 to 15 minutes, or until the bread reaches a deep golden color and an internal temperature of 200°F.
5
Transfer the loaves to a cooling rack before slicing.