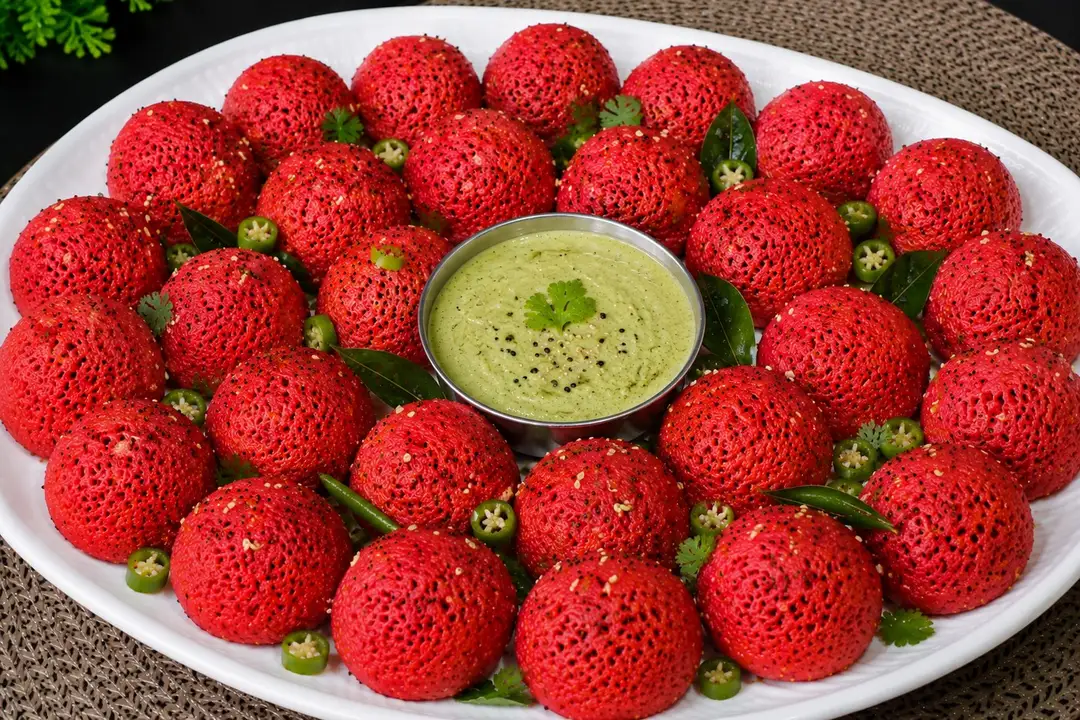
Mastering Khandvi: A Quick and Simple GuideVeg
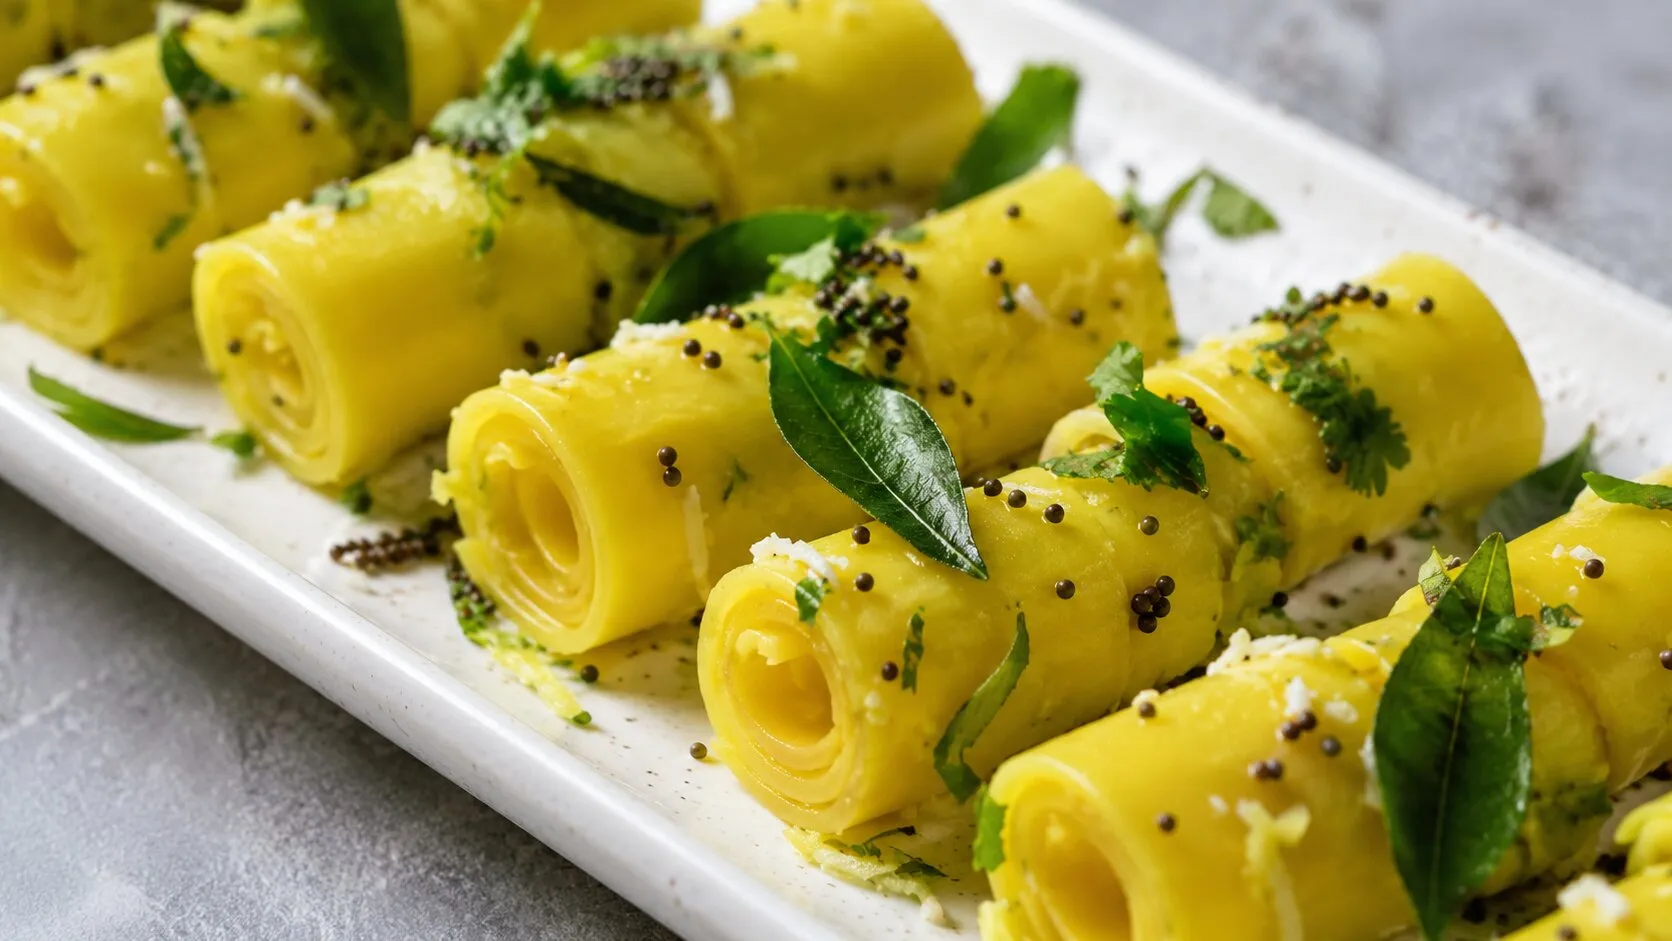
Learn how to make perfect, melt-in-the-mouth Khandvi at home with this easy, step-by-step recipe. Khandvi is a popular Gujarati snack made from a smooth blend of gram flour (besan) and sour curd, seasoned with ginger and green chillies. With these professional tips, you can achieve the ideal texture and consistency every time. Finish it off with a classic aromatic tempering of mustard seeds, sesame seeds, and fresh curry leaves for an authentic, delicious treat perfect for any occasion.
Ingredients
For the Batter:
1 cup Sour Curd
1 cup Gram Flour (besan)
Ginger & Green Chilli Paste: 2-inch piece of ginger and 2 green chillies
to taste Salt
1 tsp Sugar
1 tsp Turmeric Powder
2 cups Water
For the Tempering (Tadka):
2 tbsp Oil
1 tsp Mustard Seeds
1 piece Green Chilli (chopped)
A pinch Asafoetida
1 tsp White Sesame Seeds
8 piece Curry Leaves
For Garnish:
as needed Grated coconut
as needed Fresh Coriander
Instructions
Step 1— Preparing the Batter
Step 1— Preparing the Batter
1
In a bowl, combine 1 cup sour curd, 1 cup gram flour (besan), 2 inches of ginger & 2 green chillies (made into a paste), salt to taste, 1/2 tsp sugar, and 1/2 tsp turmeric powder.
2
In a bowl, combine 1 cup sour curd, 1 cup gram flour (besan), 2 inches of ginger & 2 green chillies (made into a paste), salt to taste, 1/2 tsp sugar, and 1/2 tsp turmeric powder.
3
Whisk everything thoroughly to ensure there are no lumps.
4
Whisk everything thoroughly to ensure there are no lumps.
5
Add 2 cups of water and mix until you achieve a smooth, liquidy batter.
6
Add 2 cups of water and mix until you achieve a smooth, liquidy batter.
Step 2— Cooking the Batter
Step 2— Cooking the Batter
1
Strain the batter into a non-stick pan.
2
Strain the batter into a non-stick pan.
3
Cook over low heat, stirring continuously for about 20-25 minutes. This constant stirring is crucial to prevent lumps and ensure the besan is perfectly cooked.
4
Cook over low heat, stirring continuously for about 20-25 minutes. This constant stirring is crucial to prevent lumps and ensure the besan is perfectly cooked.
5
The batter is ready when it thickens and achieves a slight, glossy shine.
6
The batter is ready when it thickens and achieves a slight, glossy shine.
Step 3— Spreading the Layers
Step 3— Spreading the Layers
1
Immediately pour a portion of the hot batter onto the backside of a clean tray or plate.
2
Immediately pour a portion of the hot batter onto the backside of a clean tray or plate.
3
Use a scraper or spatula to spread it into a thin, even sheet as quickly as possible (before it sets in the pan).
4
Use a scraper or spatula to spread it into a thin, even sheet as quickly as possible (before it sets in the pan).
5
Repeat the process with the remaining batter on other trays and let them rest for 10-12 minutes to cool and set.
6
Repeat the process with the remaining batter on other trays and let them rest for 10-12 minutes to cool and set.
Step 4— Cutting and Rolling
Step 4— Cutting and Rolling
1
Once set, trim the edges if necessary and make straight cuts about 3-4 inches wide.
2
Once set, trim the edges if necessary and make straight cuts about 3-4 inches wide.
3
Gently roll each strip from one end to the other to create the signature Khandvi rolls.
4
Gently roll each strip from one end to the other to create the signature Khandvi rolls.
Step 5— Tempering and Garnish
Step 5— Tempering and Garnish
1
Heat 2-3 tbsp of oil in a pan over high heat.
2
Heat 2-3 tbsp of oil in a pan over high heat.
3
Add 1/2 tsp mustard seeds, 1-2 chopped green chillies, a pinch of asafoetida (hing), and 1/2 tsp white sesame seeds.
4
Add 1/2 tsp mustard seeds, 1-2 chopped green chillies, a pinch of asafoetida (hing), and 1/2 tsp white sesame seeds.
5
Add 8-10 curry leaves and immediately pour this hot tempering over the rolled Khandvis.
6
Add 8-10 curry leaves and immediately pour this hot tempering over the rolled Khandvis.
7
Garnish with freshly grated coconut and chopped coriander before serving.
8
Garnish with freshly grated coconut and chopped coriander before serving.
Nutrition Facts
3 servings per recipe